Create an Agent Policy
Most of the actions demonstrated in the other Product Features sections in this evaluation guide can be performed agentlessly from the console. Many of these same actions can also be performed using agents. You simply create an agent policy, configure it and then install the agent on a machine.
All Application Control features require an agent to be installed for all managed endpoints.
Try it yourself
To create a new agent policy:
- From the main menu, select New > Agent Policy.
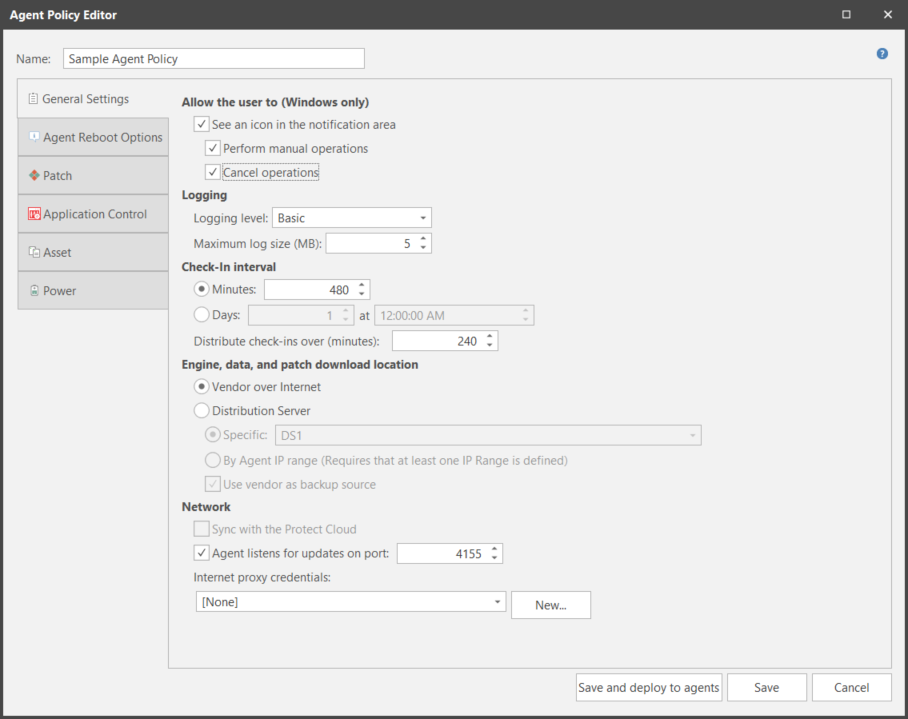
The Agent Policy Editor is displayed.
- Type a name for the new agent policy.
Configure a patch task
On the Patch tab, click Add a Windows Patch Task and type a name for the task. For example, you might name it Eval Patch Task. The patch task options are displayed. Feel free to simply use the default values. You might consider clearing the Deploy patches check box on the Scan and deploy options sub-tab if you do not want all missing patches to be deployed later on when you test the agent. Do not click Save and deploy to agents just yet.
Configure application control
On the Application Control tab, click Enable Application Control and select the configuration to assign to the agent policy or create a new configuration.
Configure an asset task
On the Asset tab, click Add an Asset Task and type a name for the task. For example, you might name it Eval Asset Task. The asset task options are displayed. Feel free to simply use the default values. The default asset scan template (Full Asset Scan) will perform a software asset scan and a hardware asset scan on the agent machine whenever the asset task is run.
Configure a power task
On the Power tab, click Add a Power State Task and type a name for the task. For example, you might name it Eval Power Task. The power state task options are displayed. Feel free to simply use the default values. The default power state template (Standard Power) will perform a restart of the agent machine whenever the power task is scheduled to run or is initiated manually from the console.
Save the agent policy
In the bottom-right corner of the Agent Policy Editor dialog, click Save.
Your next step
You are now ready to install an agent and then give it a test drive.
Do you want more detailed information? See the Creating a New Agent Policy topic in the Security Controls Help.